A Team Trial Workspace is MuseDAM's collaborative digital asset management environment for small teams — supporting multi-user collaboration, permission management, and resource configuration. When you log in to MuseDAM for the first time, the system will guide you through setting up your workspace. Simply choose Team Collaboration mode, fill in a few basic details, and you're ready to go. You'll also get a dedicated invite link to share with your teammates right away.
Once the workspace is set up, the team admin can manage all core settings — including team information, storage quotas, and sharing permissions — from Admin Console → Space Settings.
Common use cases
Getting a new team up and running — First-time MuseDAM users who want to set up a shared asset management space quickly
Multi-user collaboration — Marketing, design, and other teams that need a central hub for managing and sharing digital assets
Workspace configuration — Admins applying security settings such as sharing restrictions and corporate email domain controls
Before you begin
Permissions required: Any registered user can create a workspace; space settings must be configured by an admin
🚀 Quick Start
⏱️ Setup typically takes 3–5 minutes from registration to a ready workspace.
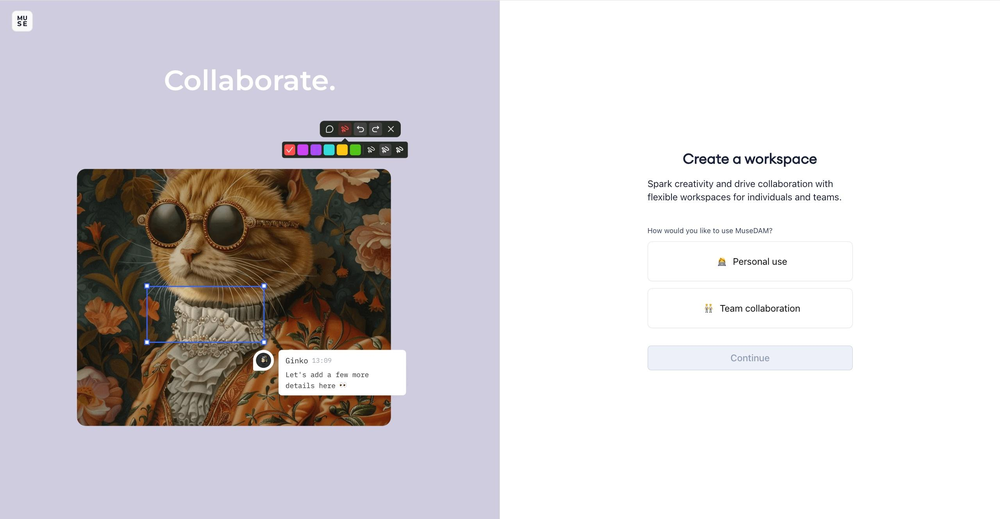
Step 1 — Choose Your Workspace Type
Go to the MuseDAM website and click Log In in the top-right corner to register or sign in
After logging in, the Create Workspace screen will appear automatically
Select 👥 Team Collaboration and click Continue
Step 2 — Enter Your Team Details
Enter your Name and Nickname(optional)
Enter a Workspace Name that represents your team or company
Select your Team Size (2–5 / 6–10 / 11–30 / 31–50 / 51–100 / 100+)
Select your Industry (Visual Design, E-commerce, Internet, Photography, etc.)
Click Continue to complete setup
Step 3 — Invite Your Team
MuseDAM automatically generates a unique invite link for your workspace
Click Copy Invite Link and send it to your team members
Members follow the link to join your workspace
If you're not ready to invite anyone yet, click Skip — you can always send invites later from the Admin Console
✨ Expected result: Your team workspace is created and ready to use. You'll land directly in the MuseDAM asset library, where you can start uploading and managing your digital assets straight away.
📋 Step-by-Step Guide
Updating Your Team Information
After your workspace is created, the admin can update team details at any time from Space Settings:
Click Admin Console in the left navigation → Settings & Members
Click the Edit button in the top-right corner of the page
Update the following fields in the edit dialog:
Team Name — Enter a recognizable name that identifies your team or organization
Industry — Select the most relevant option from the dropdown
Team Size — Choose the range that best reflects your current headcount
💡 Tip: Including your company or department name in the workspace name makes it easier for members to identify which space they're in.
Monitoring Resource Usage
The Space Settings page gives you a real-time view of your team's resource consumption, including storage used and seats occupied.
Core Configuration Settings
🚀 External Sharing
Controls whether assets in your workspace can be shared outside the team:
Enabled — Members can share assets with external users via share links
Disabled — All external sharing is blocked across the entire workspace
This is particularly useful for confidential projects or environments that require strict content controls.
📧 Corporate Email Domain
Restrict workspace access to users with a specific email domain:
How to configure — Enter your company's email domain (e.g. @company.com)
Why it matters — Ensures only internal employees can join and access your team's assets
🌐 Default System Language
Set the default interface language for new members joining the workspace. MuseDAM supports 17 languages, including Simplified Chinese and English.
🏠 Asset Library Home
Choose the default landing page when members open the asset library — either All Assets or Shared Folders.
💡 Before you go live: Once your workspace is configured, we recommend inviting a few core team members to test the setup and confirm everything works as expected for your workflows. If you need more advanced features, consider upgrading to MuseDAM Enterprise.
❓ Frequently Asked Questions
Q: Our team seats are full — how do we add more members?
Contact MuseDAM support to upgrade your seat quota, or go to Members & Departments to remove inactive members and free up existing seats.
Q: We're running low on storage — what are our options?
You can free up space by removing assets you no longer need, or contact MuseDAM support to expand your storage allocation.
Q: If we disable external sharing, will existing share links still work?
No — disabling external sharing immediately invalidates all active share links. Recipients will no longer be able to access any previously shared content. If you re-enable sharing later, the original settings will be restored.
Q: I skipped the invite step during setup — how do I invite members later?
Go to Admin Console → Team Management → Invite Members. You can generate a new invite link or send email invitations to members at any time.
Q: My permission settings don't seem to be taking effect — what should I check?
Verify that the current user has admin permissions, confirm that the email domain format is correct (it must include the @ symbol), then try refreshing the page or logging out and back in before attempting the action again.